
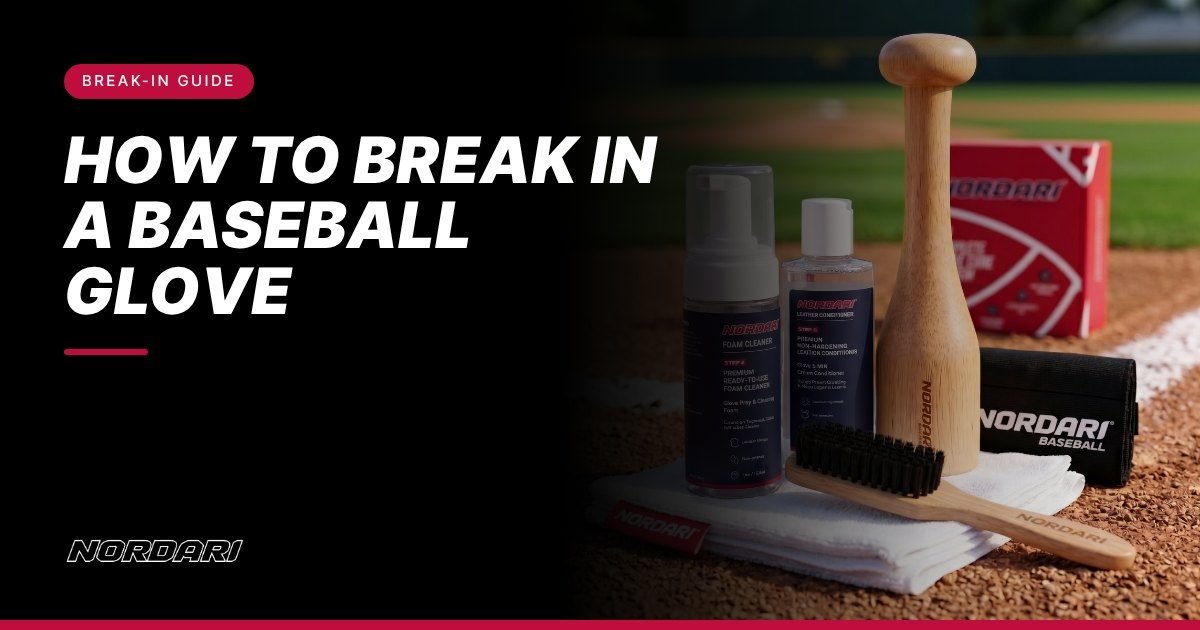
Short answer: The best way to break in a baseball glove is to clean off factory residue, rub in a little conditioner, pound the pocket and the hinge points with a mallet, then wrap the glove around a ball overnight. Repeat for two or three nights and finish the job with real catch. Skip the oven, the microwave and the pile of oil.
A new glove feels like a plank of wood. The pocket won’t open, the fingers fight you, and the ball bounces out of anything that isn’t a perfect catch. That’s normal. Good leather is stiff on purpose, because stiff leather is what holds a shape for years.
The goal of a break-in isn’t to make the glove soft everywhere. It’s to make it flex in the right places (the pocket and the two hinges at the heel) while the rest stays firm. Get that right and the glove closes on its own when the ball hits it.
Here’s the routine we recommend, with the reason behind each step so you can adapt it to your glove.
Prefer to watch first? Our video tutorial shows how to clean, condition and shape a new glove the right way, with no heat.
What you need
You don’t need much, but each item has a job:
- A leather cleaner. New gloves often carry factory residue, and used ones carry dirt and sweat. Conditioner soaks in more evenly on clean leather.
- A glove conditioner. A cream or light oil that softens the fibers. Use a little. More is not better.
- A mallet. A few minutes of pounding does the work of a lot of catches.
- A ball and a glove wrap. These hold the shape while the leather sets overnight.
- A soft cloth and a brush. For applying product and working it into seams and laces.
You can collect these one by one (here’s what a good break-in kit should include), or use an all-in-one kit. The Nordari Glove Break-In Kit puts all six pieces in one box: foam cleaner, oil-free cream conditioner, a one-piece hardwood mallet, a glove wrap, a bristle brush and a microfiber cloth.
Step 1: Clean the leather first
Plenty of guides skip this, and it’s the step that makes the rest work. A brand-new glove often has some residue left from the factory. A used glove has dirt, infield clay and dried sweat packed into the grain. Either way, conditioner sits on top instead of soaking in.
Pump a little foam cleaner onto a brush and work it over the whole glove in small circles: back of the fingers, palm, web, laces and the welting along each finger. Wipe it off with a cloth and let the glove air dry for a few minutes. You’re not washing the glove, just lifting what’s on the surface. Never soak it.
Step 2: Apply a thin coat of conditioner
Put a pea-sized amount of conditioner on a cloth, not directly on the glove, and rub it in with small circles. Focus on the areas that need to flex:
- the pocket and the palm,
- the hinge at the heel (where the glove folds when it closes),
- the base of the thumb and the pinky,
- the laces, especially around the web.
The leather should look evenly hydrated, not wet or shiny. If you can see product sitting on the surface after a few minutes, you used too much. Wipe off the excess.
This is where most people go wrong. Rawlings, one of the biggest glove makers, says plainly not to saturate a glove with oil and not to use petroleum jelly or other oily products (Rawlings break-in guide). Too much product makes a glove heavy, floppy and darker, and that’s very hard to undo. A water-based cream like the one in our kit softens without that weight and won’t darken light or colored leather.
Step 3: Work the hinges by hand
Before you grab the mallet, loosen the glove with your hands:
- Hold the heel with both hands and fold the glove closed, thumb toward pinky, twenty or thirty times.
- Bend the thumb and pinky inward separately to open up the hinge on each side.
- Gently pull the tops of the thumb and pinky apart to stretch the finger laces.
- Fold the web in half and squeeze it for a few seconds.
You’ll feel the glove start to give at the heel. That’s exactly where you want the fold.
Step 4: Pound the pocket with a mallet
Put the glove on your hand and pound the pocket with the flat end of the mallet, right where you want the ball to land. For most infielders that’s low in the palm, at the base of the index finger. Outfielders and first basemen usually want it a little deeper, toward the web.
Then take the glove off and hit the outside of the heel on both sides, the thumb side and the pinky side, to create the break points. A few minutes of steady pounding, spread over a couple of sessions, is plenty.
A mallet works because it mimics the impact of a ball without the time it takes to throw a hundred of them. A one-piece hardwood mallet has no head to come loose and puts the impact exactly where you aim it.
Step 5: Wrap it around a ball overnight
Place a ball in the pocket, close the glove around it the way you want it to close in a game, and secure it with a glove wrap. Leave it in a cool, dry place overnight. Not in the car, not next to a heater.
Rubber bands work in a pinch, but a wide wrap holds the shape more evenly and is less likely to leave marks. Don’t wrap the glove too tight, and don’t wrap it without a ball inside, or you’ll flatten the pocket instead of shaping it.
Step 6: Repeat, then play catch
After the first night the glove will already feel different. Repeat the mallet and the overnight wrap for two or three nights, adding a touch of conditioner only if the leather looks dry.
Then go play catch. Nothing finishes a break-in like real throws: the ball sets the pocket and your hand teaches the glove how you close it. Fifteen to twenty minutes a day for a week makes a big difference. Ground balls help too, since they force the glove to open low.
How do you know it’s done?
A broken-in glove:
- closes with light pressure from your thumb and pinky,
- holds the ball without you squeezing,
- keeps its shape when you set it down,
- has a clear pocket that the ball finds on its own.
If yours still fights you at the heel, go back to step 3 and step 4 for that area only. We go deeper on this in what a broken-in glove should look like.
How long does the whole process take?
With this routine, most leather gloves are usable in a few days and keep molding to your hand over the next few weeks of play. Playing catch alone usually takes several weeks, and heavy premium steerhide can take longer. We break down the timing by leather type in how long it takes to break in a glove.
Mistakes that ruin new gloves
- Heat. Ovens, microwaves, dryers, boiling water and hot car dashboards all dry the leather fibers. Rawlings warns that heating a glove can damage it and affect the warranty.
- Too much oil. Heavy, dark, floppy and impossible to reverse.
- Household products. Vaseline, cooking oil, WD-40 and the like. See does Vaseline help break in a glove.
- Sitting on it or running it over. You’ll flatten the pocket and crush the padding. Academy Sports warns against sitting on or flattening a glove, and Rawlings even jokes about not running one over with the car.
- Storing it flat in a bag. Keep a ball in the pocket and the glove on top of your gear.
Keep it that way
Once it’s broken in, the job is to keep it clean and hydrated. Wipe off dirt after dirty games, clean it properly a few times a season, and condition lightly when the leather looks dry (Rawlings suggests about once a season). Store it with a ball in the pocket. A glove that’s looked after can last many seasons.
More glove guides
Got a specific question? These guides go deeper:
- Short on time: how to break in a baseball glove fast
- Timing: how long it takes to break in a glove
- Is it done? what a broken-in glove should look like
- Products: the best break-in kit and glove oil vs. conditioner
- Home remedies: shaving cream and Vaseline
- Paying someone: break-in service costs and break-in machines
- Specific gloves: Wilson A2000 and ASO, slowpitch softball gloves, the easiest gloves to break in
- By position: catcher’s mitt, first base mitt, infield glove, outfield glove, pitcher’s glove, softball glove, kid’s glove
- Technique: using a mallet, no mallet, wrapping the glove, forming the pocket, how it should close
- Heat tricks, explained: oven, microwave, steaming, hot water
- More brands: Rawlings and Mizuno
- After the break-in: the complete baseball glove care guide
- From the pros: how MLB players break in their gloves
- Rules: what color glove is illegal for pitchers
Prefer to watch? Our glove break-in tutorial walks through the whole routine on video.
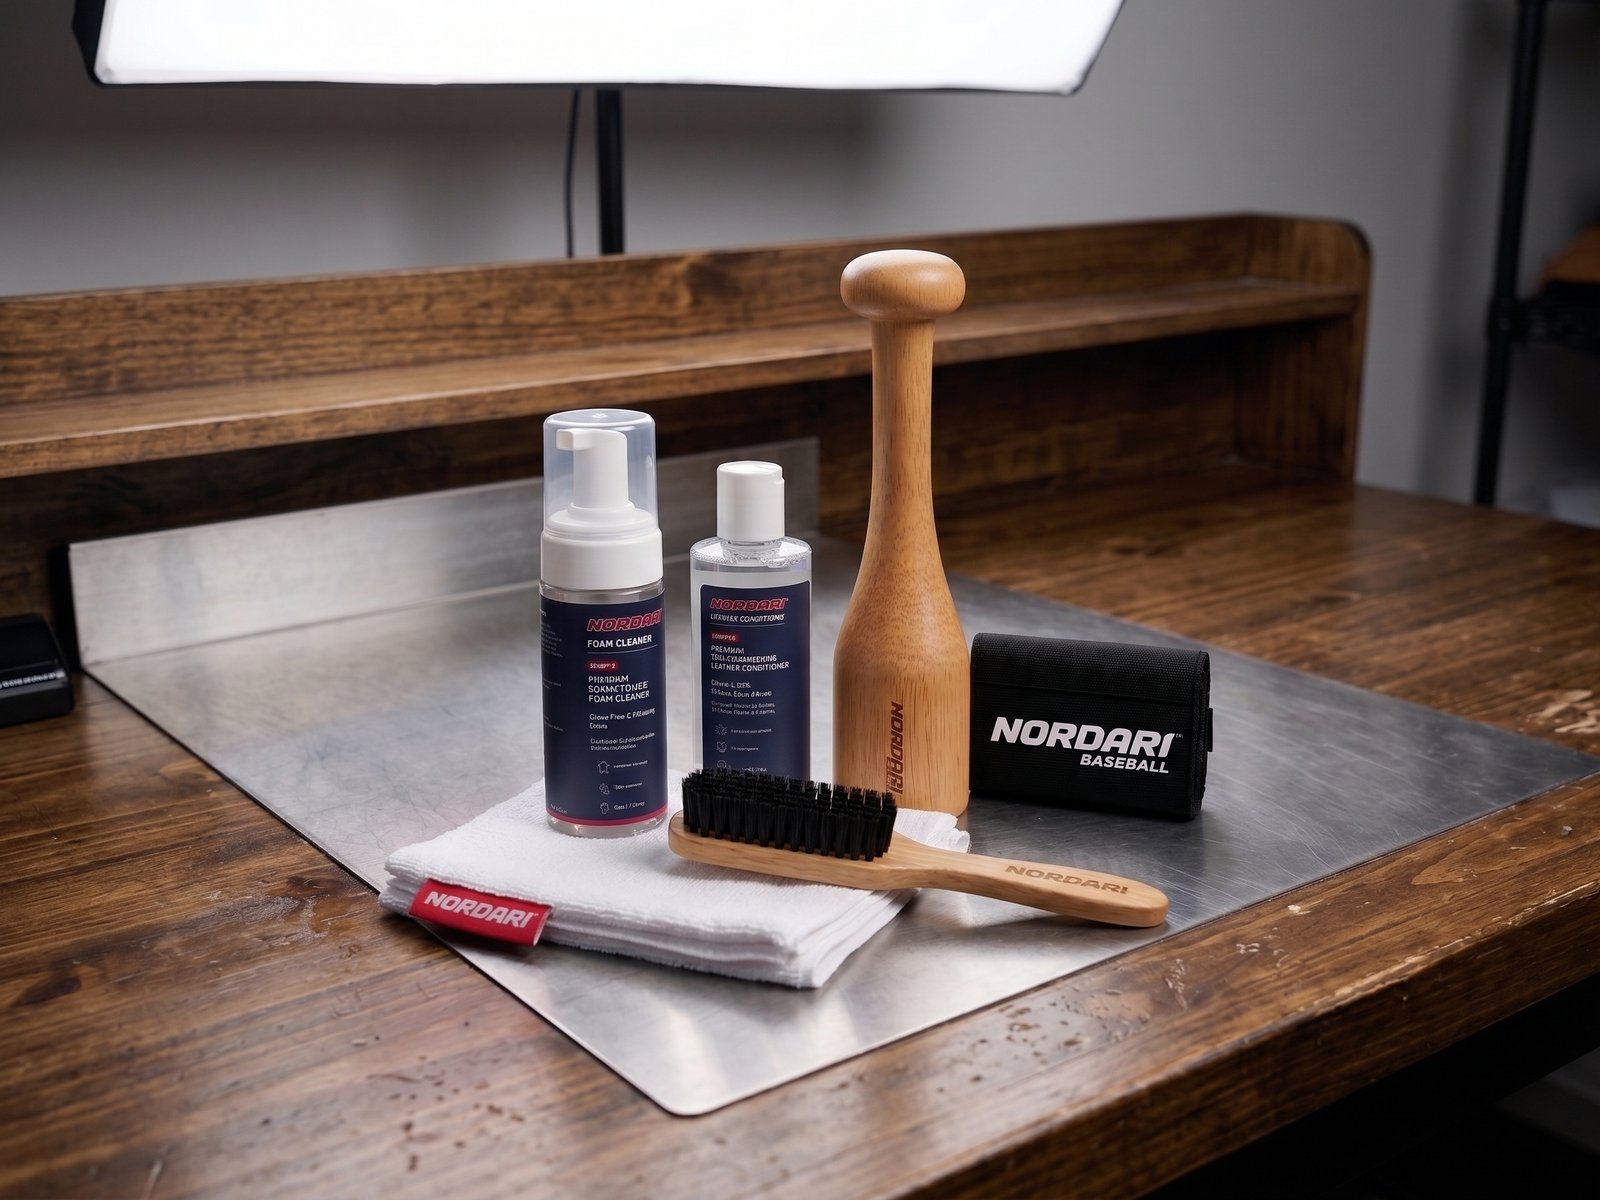
The Nordari Glove Break-In Kit
Clean, soften and shape your glove from one box: foam cleaner, oil-free cream conditioner, one-piece hardwood mallet, glove wrap, bristle brush and microfiber cloth. Non-darkening, for baseball and softball gloves, youth to adult.
Frequently asked questions
What is the best way to break in a new baseball glove?
Clean off factory residue, condition lightly, pound the pocket and hinges with a mallet, wrap it around a ball overnight for two or three nights, then play catch. It combines the speed of a mallet with the shaping only real catches give.
Should I put oil on a new glove?
A little, yes, though a cream conditioner is easier to control. Apply a light layer with a cloth, focus on the pocket and hinges, and wipe off any excess. Never soak a glove in oil.
Can I break in a glove without a mallet?
Yes. A baseball held in your hand, or the knob of a bat, can pound the pocket. It’s slower and less precise, and playing catch every day becomes more important.
Is it bad to use water to break in a glove?
Some makers, including Wilson, use a small amount of warm water on the palm. Soaking the glove or using hot or boiling water can shrink and dry the leather. A conditioner gives you the softening without that risk.
How do you break in a kid’s glove?
The same way, with less force and less product. Youth gloves are often softer to start with, so one or two nights wrapped around a ball plus some catch is usually enough.